Webiny Enterprise
Setup Auth0
Learn how to configure Auth0 with a multi-tenant Webiny project
Webiny Enterprise license is required to use this feature.
This feature is available since Webiny v5.34.0.
- how to integrate Auth0 with a multi-tenant project
Overview
Auth0 integration replaces the default Cognito setup, and allows companies to manage users and their access to Webiny instances from within Auth0. Since Webiny’s system of permissions contains rich permission objects, you can’t define these in Auth0. Instead, assignment to security groups is happening using JSON Web Token (JWT) claims, which help you map every identity to a specific security group within Webiny, on a particular tenant.
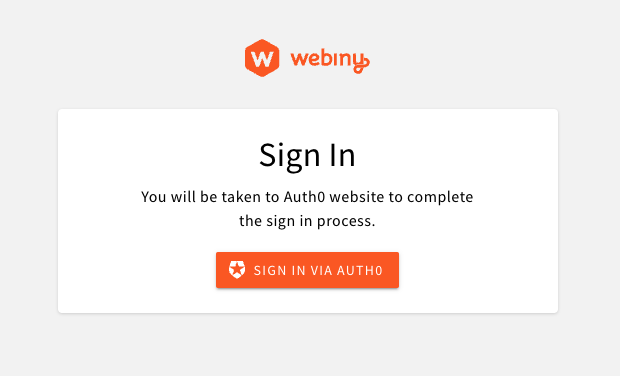 Auth0 Sign In Widget
1) Prepare the Project
Your project needs to be at version 5.34.0, or greater, to use this feature.
Please follow the upgrade guide to upgrade your project to the appropriate version.
Alternatively, you can create a new >=5.34.0 project, by running:
If you need to use multi-tenancy, follow this guide before continuing with the Auth0 setup.
If creating a new project, before following further instructions, make sure you complete the initial setup wizard with Cognito. This is a required step to successfully replace Cognito with Auth0.
2) Add New Dependencies
We need to add several new packages to the project.
Add Auth0 module dependency to the GraphQL API dependencies:
Add Auth0 module dependency to the Admin app dependencies:
3) Configure Auth0 in the GraphQL API
We need to update security configuration in the graphql Lambda function.
The difference between your original file and the one below, is that we removed all Cognito plugins, and added Auth0 plugin instead, with some other tweaks to the security configuration. The most important changes are highlighted and commented for your convenience.
The last thing to do is to define Auth0 environment variables.
In your project directory, open the .env file, and define the following variables. To find the values of these variables, in your Auth0 dashboard, navigate to Applications -> Applications, and open the desired application. The values you need will be located under the Basic Information section.
This will ensure that, when Pulumi starts the deploy process, these environment variables are present in process.env, and are assigned to your Lambda functions.
4) Configure Admin App
Open apps/admin/src/App.tsx and replace the Cognito plugin with Auth0 plugin:
With this, you’re ready to deploy the project. To deploy the whole project, run the following:
Or deploy just the api and admin by running:
5) Configuring App Client ID for New Tenants
Once your project is deployed, open your Admin app. If everything went well, you should be presented with an Auth0 login screen. The Auth0 user you’re using to login must have access to the root tenant app client, and have the appropriate claims assigned to the user’s JWT so the user can be mapped to the correct security group, as described in the Configure Auth0 in the GraphQL API section.
We recommend that your main root tenant admin user has a full-access group assignment. Think of this user as a super admin user who can run system setup, create new tenants, and so on. A full-access security group is always present in the system. So, you don’t need to create it manually.
Once you’ve logged in, navigate to Tenant Manager -> Tenants. In the tenant creation form, there is a dedicated input for Auth0 App Client ID:
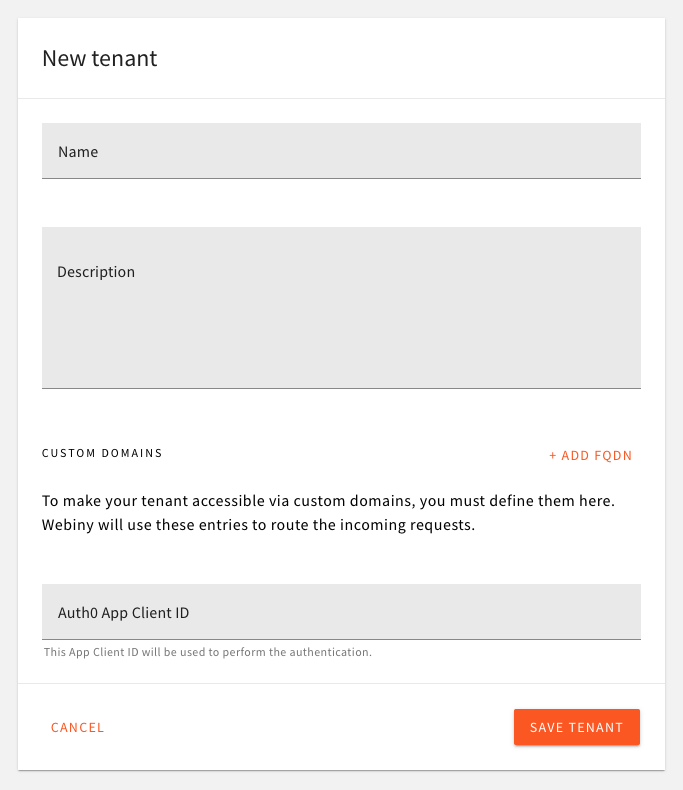 Assign App Client ID to Tenant
The value entered here is what the Admin app will be fetching via the API during app bootstrap (on every browser reload). Since multiple tenants can use the same app client ID, for development purposes, you can have 1 Auth0 app shared between all the developers in the team, across all tenants in their development environments.
6) Accessing Admin App of a Particular Tenant
To point the browser to a specific tenant you want to access, you simply need to use the tenantId query string parameter:
7) Customizing "Not Authorized" Component (Optional)
When a uses logs into an Admin app, and there are no permissions assigned to him, the app will render a NotAuthorizedError component. You can customize this component by creating a component plugin (a decorator) around the existing component, and replace the output.
The @webiny/app-admin-auth0 exports all the components that support decoration via the Components namespace.
Next time the system renders the NotAuthorizedError component, your decorator will intercept the output, and render your custom UI.